
You’re here because you want a lettuce growing tower that just works—whether it’s one tower on a balcony, a tidy 10–30 tower array for a small urban farm, or a 50+ tower installation with compliance, dosing, and uptime targets. This guide gives you the exact parameters, a clear setup sequence, the right level of automation at each scale, and a food safety lens aligned with current rules.
Why trust this? The parameters and compliance notes reference extension services, academic work, and primary regulations. You’ll get a pragmatic, engineering-first walkthrough and the checklists you need to launch with confidence.
Key takeaways
-
Target stable fundamentals: pH around 5.5–6.0, EC that ramps from roughly 1.2 dS/m for seedlings to about 1.5–1.8 dS/m in vegetative, cool solution temps near 64–72°F, and a moderate PPFD band for compact heads.
-
Favor uniformity over intensity: In towers, geometry creates light and flow gradients; map PPFD at the canopy and verify even irrigation before you seed.
-
Choose irrigation logic that suits your tower: NFT-style thin film needs continuous, gentle flow; aeroponic or trickle towers often run short on/off cycles adjusted to climate and crop stage.
-
Make sanitation a habit, not a repair: Clean reservoirs, towers, and plumbing on a schedule; log water tests and meter calibrations; keep biofilms from getting a head start.
-
Scale automation to risk: Add sensors, dosing, and redundancy as you move from a single tower to multi tower arrays; align with FSMA Produce Safety Rule expectations for water and food contact.
What a lettuce growing tower is
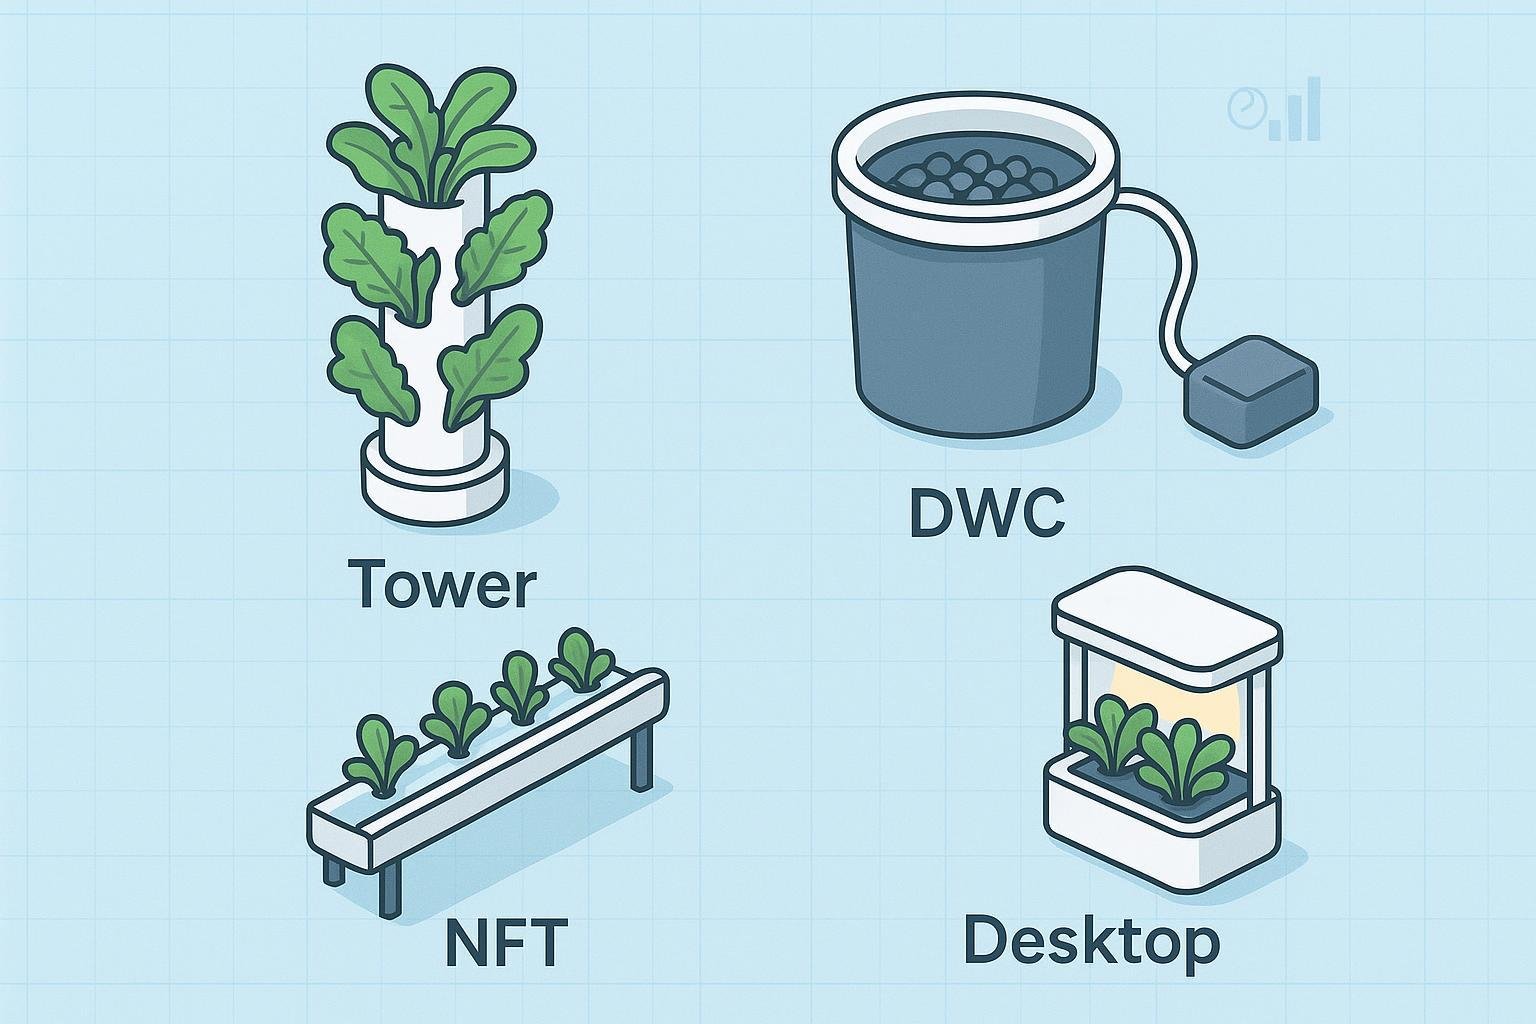
A lettuce growing tower is a vertical, soil free system that provides water, nutrients, and oxygen to roots while maximizing plant sites per square foot. Most towers operate in one of two modes. An NFT style tower sends a thin nutrient film past roots. An aeroponic or trickle tower mists or drips the roots in short cycles. For lettuce, both can deliver compact, high quality heads when you keep solution cool, lighting moderate, and air moving.
Quick start for a single lettuce growing tower
A clean corner, a stable reservoir, a dependable pump, and a simple LED bar can take you from seed to first harvest in about four to six weeks, variety dependent. Think of this as your baseline playbook you can repeat and refine.
-
Prepare and sanitize
-
Rinse and sanitize the reservoir, tower body, fittings, and tools. Mix fresh nutrient solution to a gentle seedling strength and adjust pH to the mid fives. Calibrate your pH and EC meters. Fill the reservoir with cool water near the upper sixties Fahrenheit and start aeration if your system supports it. For practical pH and setup targets, see the University of Florida’s extension guide: UF IFAS EDIS HS1488.
-
-
Check flow and light
-
Power the pump and confirm even wetting across all grow sites. Verify there are no leaks and the return path is clear. Set lighting to a moderate intensity measured at the canopy with a handheld meter. Keep the photoperiod in the low teens to reduce bolting pressure in warm rooms. Lettuce PPFD planning ranges are summarized by the University of Missouri: MU Extension grow lights guide.
-
-
Start seeds and transplant
-
Germinate in clean plugs under gentle light. Transplant when roots show and leaves are firm. For the first week after transplanting, keep EC on the low side and airflow gentle as roots establish. EC targets by stage for NFT lettuce are discussed in a University of Florida engineering note: UF IFAS AE610.
-
-
Grow and maintain
-
Hold pH around 5.5–6.0 and nudge EC up into the mid production range over the next one to two weeks. Keep solution cool and oxygenated; cooler solutions help maintain dissolved oxygen and protect roots during warm periods, as reviewed in Science in Hydroponics.
-
-
Harvest and reset
-
Harvest heads when they are tight and fresh. Cool quickly and keep clean tools and bins ready. Drain the system, scrub contact surfaces, flush lines, and start a new batch with fresh solution.
-
Small arrays with ten to thirty towers
At this scale, uniformity and light geometry begin to separate good crops from great ones. Your aims are dependable irrigation across all towers, basic sensing, and a tidy workflow that prevents contamination and rework.
Irrigation and pump selection
-
Size your pump for the total dynamic head, not just lift. Add the vertical rise to realistic friction losses from manifolds, elbows, and hose length. Choose a model that meets your target flow at the calculated head using its performance curve. A calculator can pressure test your math before you buy: Hydrobuilder pump and flow calculator.
Flow logic by tower type
-
For NFT style towers and channels, aim for a continuous, gentle thin film that avoids pooling and starvation. A primer explains why steady thin films matter for leafy greens: Atlas Scientific NFT guide.
-
For aeroponic or trickle towers, intermittent cycles work well. Start with short on times and longer off times, then shorten the off interval in warmer and drier rooms. The goal is consistently moist roots without stagnation.
Sensors and controls
-
Add temperature probes for solution and room, a float switch or dry run protection for the pump, and reliable pH and EC meters you calibrate weekly. A simple data log helps spot drifts before they become problems. Keep spare emitters or nozzles on hand and plan a weekly flush.
Lighting layout and airflow
-
Space towers to avoid shading and channel light down the rows. Map PPFD at the canopy on four sides of a representative tower and adjust fixture distance or angle to tighten the uniformity band. Keep air moving across heads without bruising them and watch for humidity pockets that trigger tip burn.
People and workflow
-
Assign owners for daily checks, mixing, harvest, and sanitation. Store acids, bases, and nutrients safely with labeled measuring gear. Keep a single source of truth logbook for parameters, water tests, and sanitation tasks.
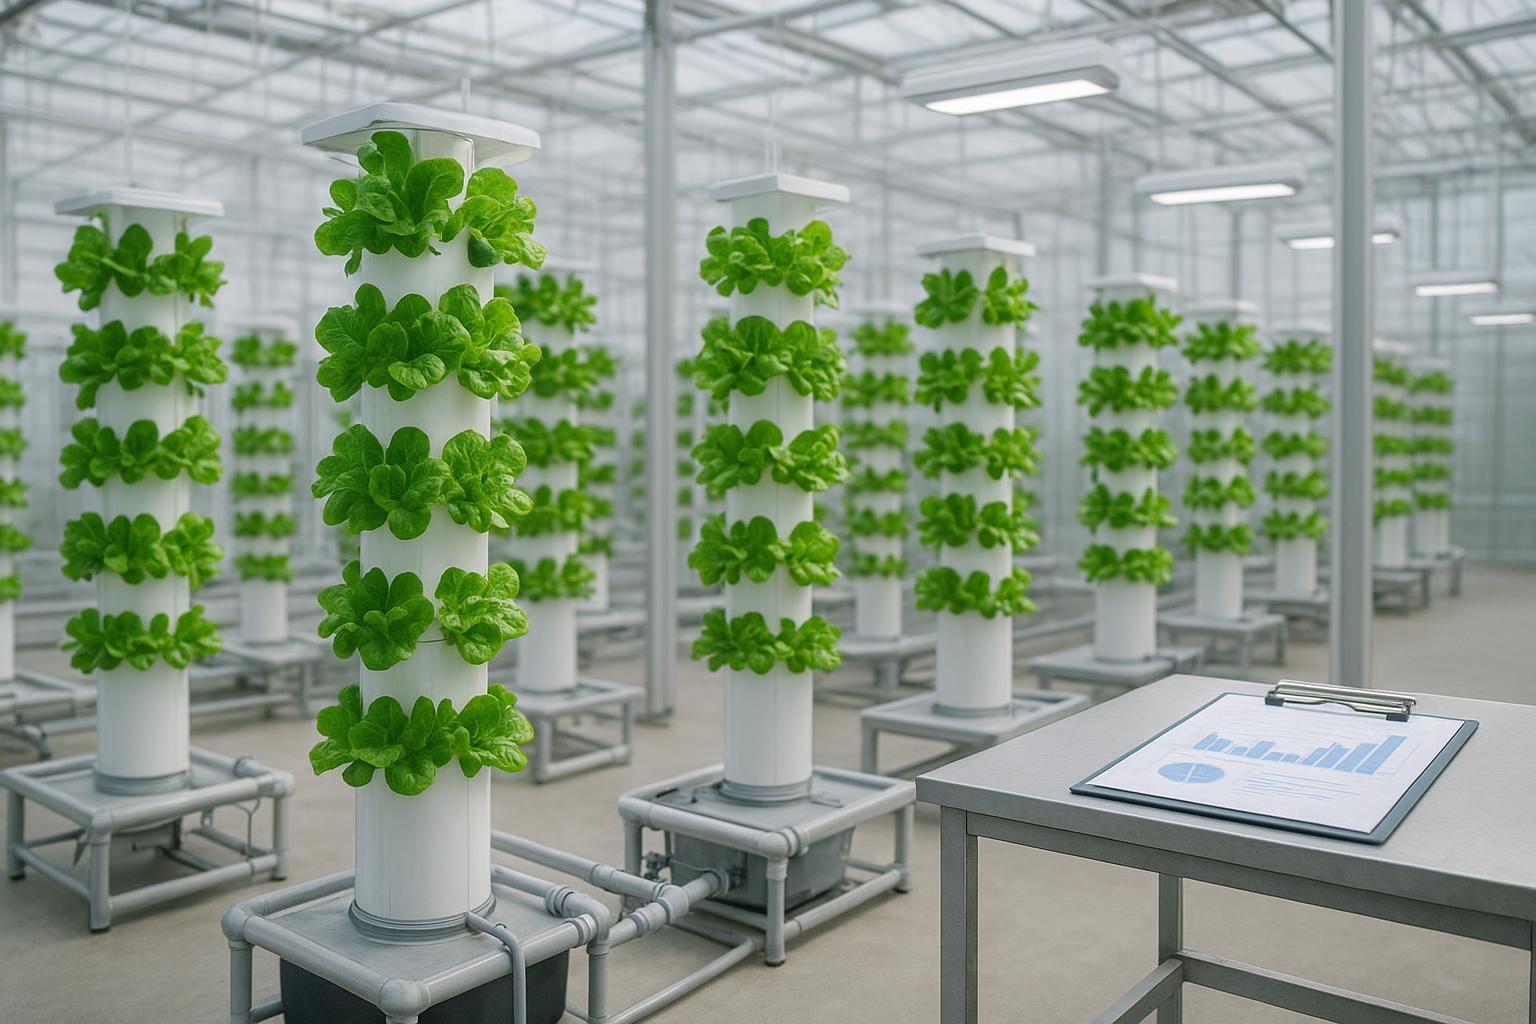
Commercial design for fifty plus towers
When you cross fifty towers, the job shifts from gardening to systems engineering. You’re balancing uptime, compliance, traceability, and cost. The design priorities are redundancy, documentation, and cleanable infrastructure.
Environment and irrigation
-
Maintain stable room conditions in the cool band for lettuce while ensuring airflow and dehumidification prevent condensation on food contact surfaces. Split your irrigation into manageable zones with isolation valves and pressure gauges. Size pumps with N plus one redundancy and consider UV or other water treatment where appropriate for your facility and regulation.
Nutrients, dosing, and monitoring
-
Closed loop dosing can hold pH and EC inside tight bands without constant human attention. Still, schedule manual spot checks and frequent meter calibrations. Record solution temperature and dissolved oxygen along with pH and EC; DO readings help you catch oxygen debt during warmer hours before roots suffer.
Compliance checklist aligned to current rules
-
Water that contacts produce at or after harvest must be safe and meet the Produce Safety Rule’s microbial criteria; review the codified requirements to translate them into site procedures: ECFR Part 112 agricultural water.
-
For preharvest water, FDA’s finalized systems based agricultural water assessment replaced older microbial profile requirements; an extension summary explains what changed and how to implement assessments: Missouri Extension preharvest water rule summary.
-
Hydroponic nuance: recirculating nutrient solution and tower internals are food contact surfaces and water; a dedicated guidance hub tailored to hydroponic operations outlines sanitation plans and recordkeeping you can adapt: UVM/NECAFS hydroponic produce safety guidance.
Practical example in context
-
Disclosure: SPRINGS FAITH is our product. In a typical commercial implementation, a modular, commercial grade tower system such as the platforms from SPRINGS FAITH can be integrated into a zoned irrigation design with N plus one pump redundancy, PPFD mapped per aisle, and a sanitation SOP that specifies weekly reservoir and plumbing cleanouts aligned to FSMA practices. This pattern can be reproduced with equivalent equipment.
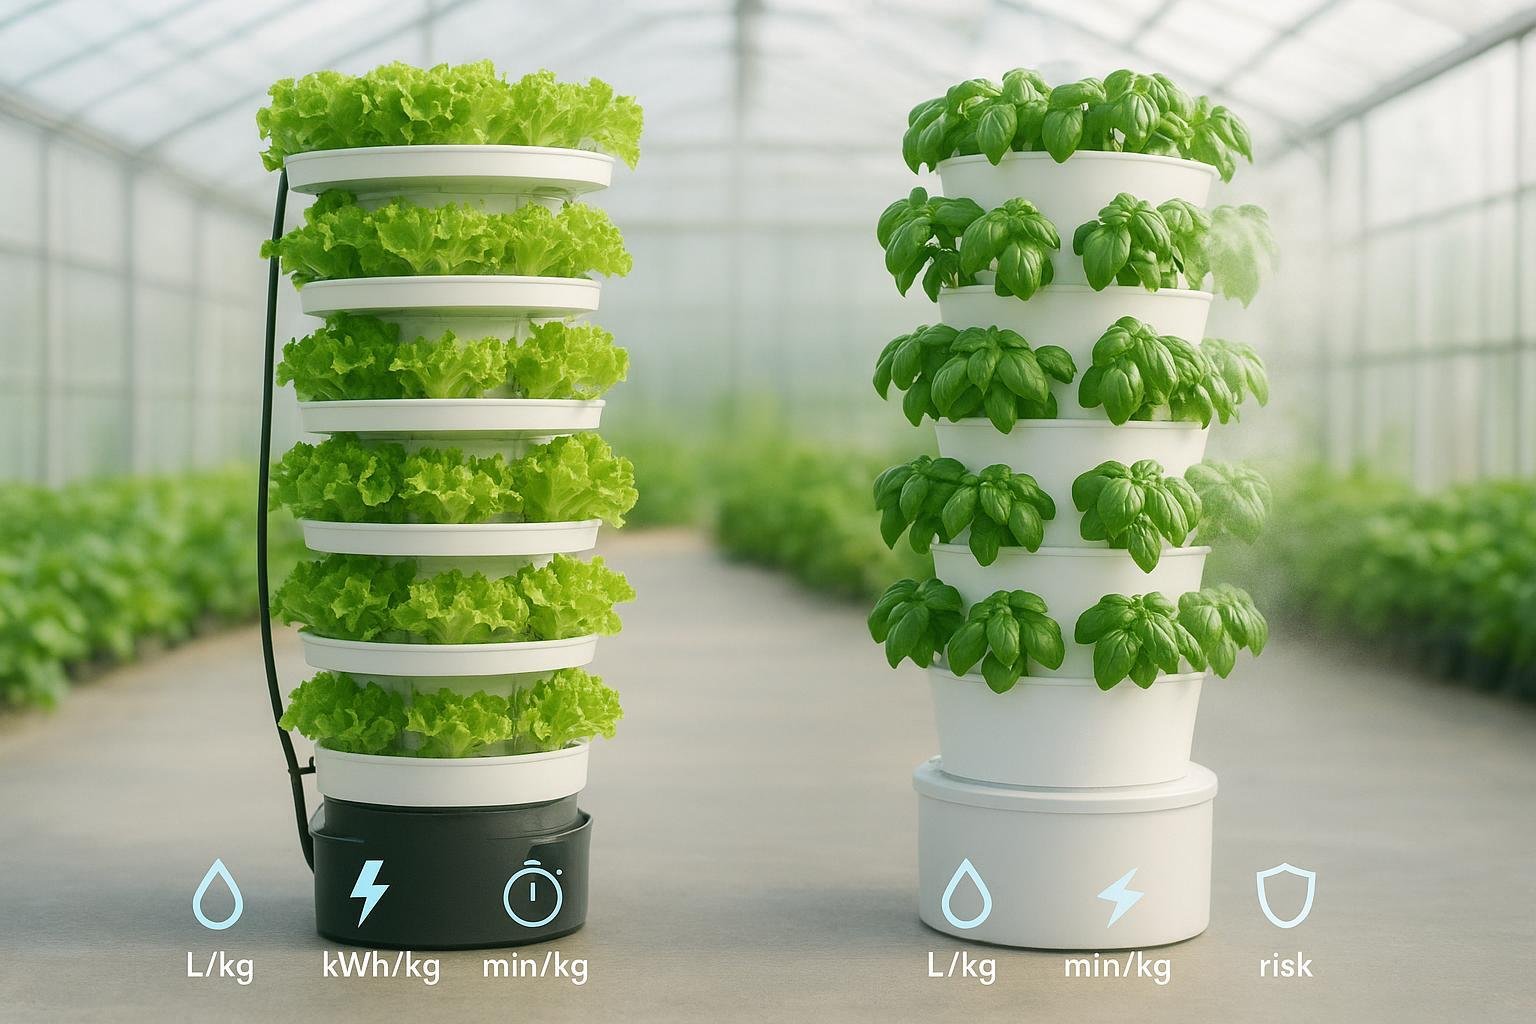
Example project (anonymized, permissioned): A 72-tower greenhouse pilot ran on a 21–28 day lettuce cycle, averaging ~0.9–1.1 heads per site per cycle (≈110–140 kg/m²/year). PPFD uniformity across tiers measured within a 15% coefficient of variation after fixture repositioning. Water use averaged <1.2 L/head per cycle and site energy (lighting+HVAC) ranged near 6–7 kWh/kg under an LED-optimized schedule, with sanitation and water-testing audits passing FSMA-aligned checks after minor procedural tweaks (see vertical shelf yield study (2024)). Example data anonymized with permission.
Directional budget ranges
-
Treat these as planning placeholders you’ll replace with quotes. For a modest indoor or greenhouse array of ten to thirty towers, equipment and basic enclosure buildout can range from the mid tens of thousands to low six figures depending on lighting density, HVAC, dosing, and compliance infrastructure. Annual operating costs tend to cluster around energy, labor, nutrient and consumables, and maintenance, with water as a small share. Use your local tariffs and wages to model site specific numbers and stress test sensitivity to energy prices.
Lettuce parameter cheat sheet
|
Parameter |
Target range |
Practical notes |
|---|---|---|
|
pH |
About 5.5 to 6.0 |
Calibrate meters weekly and adjust with food safe acids and bases |
|
EC |
Roughly 1.2 dS/m seedlings, 1.5–1.8 dS/m production |
Ramp gradually after transplant to avoid stress |
|
Solution temperature |
Around 64–72°F |
Cooler solutions hold more oxygen and reduce root stress |
|
Dissolved oxygen |
Aim for 7–8 mg/L or higher |
Add aeration and avoid stagnant plumbing |
|
Air temperature |
Day near 70–77°F, night near 55–65°F |
Cooler air reduces bolting pressure |
|
Relative humidity |
Mid band around 40–60 percent |
Keep airflow steady to avoid tip burn |
|
PPFD |
About 200–300 µmol/m²/s at canopy |
Map on four sides of a tower and adjust for uniformity |
|
Photoperiod |
About 12–14 hours |
Longer days and warm rooms can trigger bolting |
Troubleshooting quick hits
Tip burn shows up as browned leaf edges on fast growing heads. It often tracks with high humidity, hot lights, and uneven airflow that disrupts calcium movement. Back off intensity, keep air moving gently, verify EC and pH are in range, and confirm your solution and room temperatures are on the cool side.
Bolting is the lettuce survival response to heat or long days. If heads start to elongate and taste shifts bitter, shorten the photoperiod, cool the room, and choose bolt tolerant varieties for warmer seasons.
Biofilms and root disease creep in when solution sits warm and still. Keep solution temperatures cool, maintain dissolved oxygen with aeration and clean plumbing weekly. Build a sanitation routine rather than waiting for signs of trouble and document it with times and initials to make it stick.
Methodology and updates
Last updated: 2026-01-19. Technical review by the SPRINGS FAITH engineering team. Sources: extension services, peer-reviewed literature, regulatory texts, and manufacturer documentation. This guide is reviewed quarterly and revised as needed; consult local regulators for site-specific requirements. Scope: operational setup and high-level SOPs for single towers through commercial arrays; not a substitute for site-specific engineering or legal advice.
Disclaimer: This guide is informational. Always consult local regulators, food safety authorities, and equipment manufacturers for site specific requirements and specifications.
Disclaimer: This guide is informational. Always consult local regulators, food safety authorities, and equipment manufacturers for site specific requirements and specifications.
Related Posts
 Hydroponic vs Aeroponic Towers (2026): Which System Is Better for Your Plants?
 What Can You Grow in a Hydroponic Tower? 15 Best Plants for Vertical Growth
 Hydroponic Tower Cost Analysis: Is It Worth the Investment? (Plus DIY Options)
